
What? Mowable cables? That doesn’t make any sense! Let me explain. Throughout my nearly four decades exploring radio, I have often had occasion to run a “temporary” cable to some antenna. Usually these end up laying on the ground where they quickly become a nuisance, having to be moved every time the grass needs to be cut. This often continues for some time. After all, in a ham radio sense the definition of temporary is “anything expected to be in service for less than the life expectancy of the operator”. About year ago I had a sudden explosion of “temporary” cables. I needed to run coax and a variometer control cable to my new 2200 and 630 meter transmitting antenna, as well as coax to a receiving antenna for those bands in another location. These were put down just after the last lawn mowing of the season, but were at risk of damage from the snowblower as I kept a path cleared to the transmitting antenna during the winter. This summer they have been a constant source of irritation as I had to move them every time I mowed the grass.
Since I still can’t afford good coax and conduit to do this job in a permanent (meaning less irritating) fashion, something had to be done. One obvious solution is to dig a shallow trench and lay the cable in it — with our without burying afterward. This tends to be a lot of work and it’s messy, disturbing the grass (uh, I mean the weeds) and leaving dirt strewn all over. I was looking for a cleaner and, hopefully, easier method. One morning about 2 AM it came to me. I sat bolt upright in bed, sending Boo (the cat, who had been asleep on my chest) fleeing for cover. Who said you had to dig a trench? I have soft, sandy soil. Surely one could press a trench into the ground without the mess. It just might be easier, too. The following series of pictures depict the process, which worked very well.

Step One: Mark a line. Drive in stakes at each end and at any locations along the run where a bend is required. Run string (or small wire) from end to end, then spray paint a line on the ground along it.
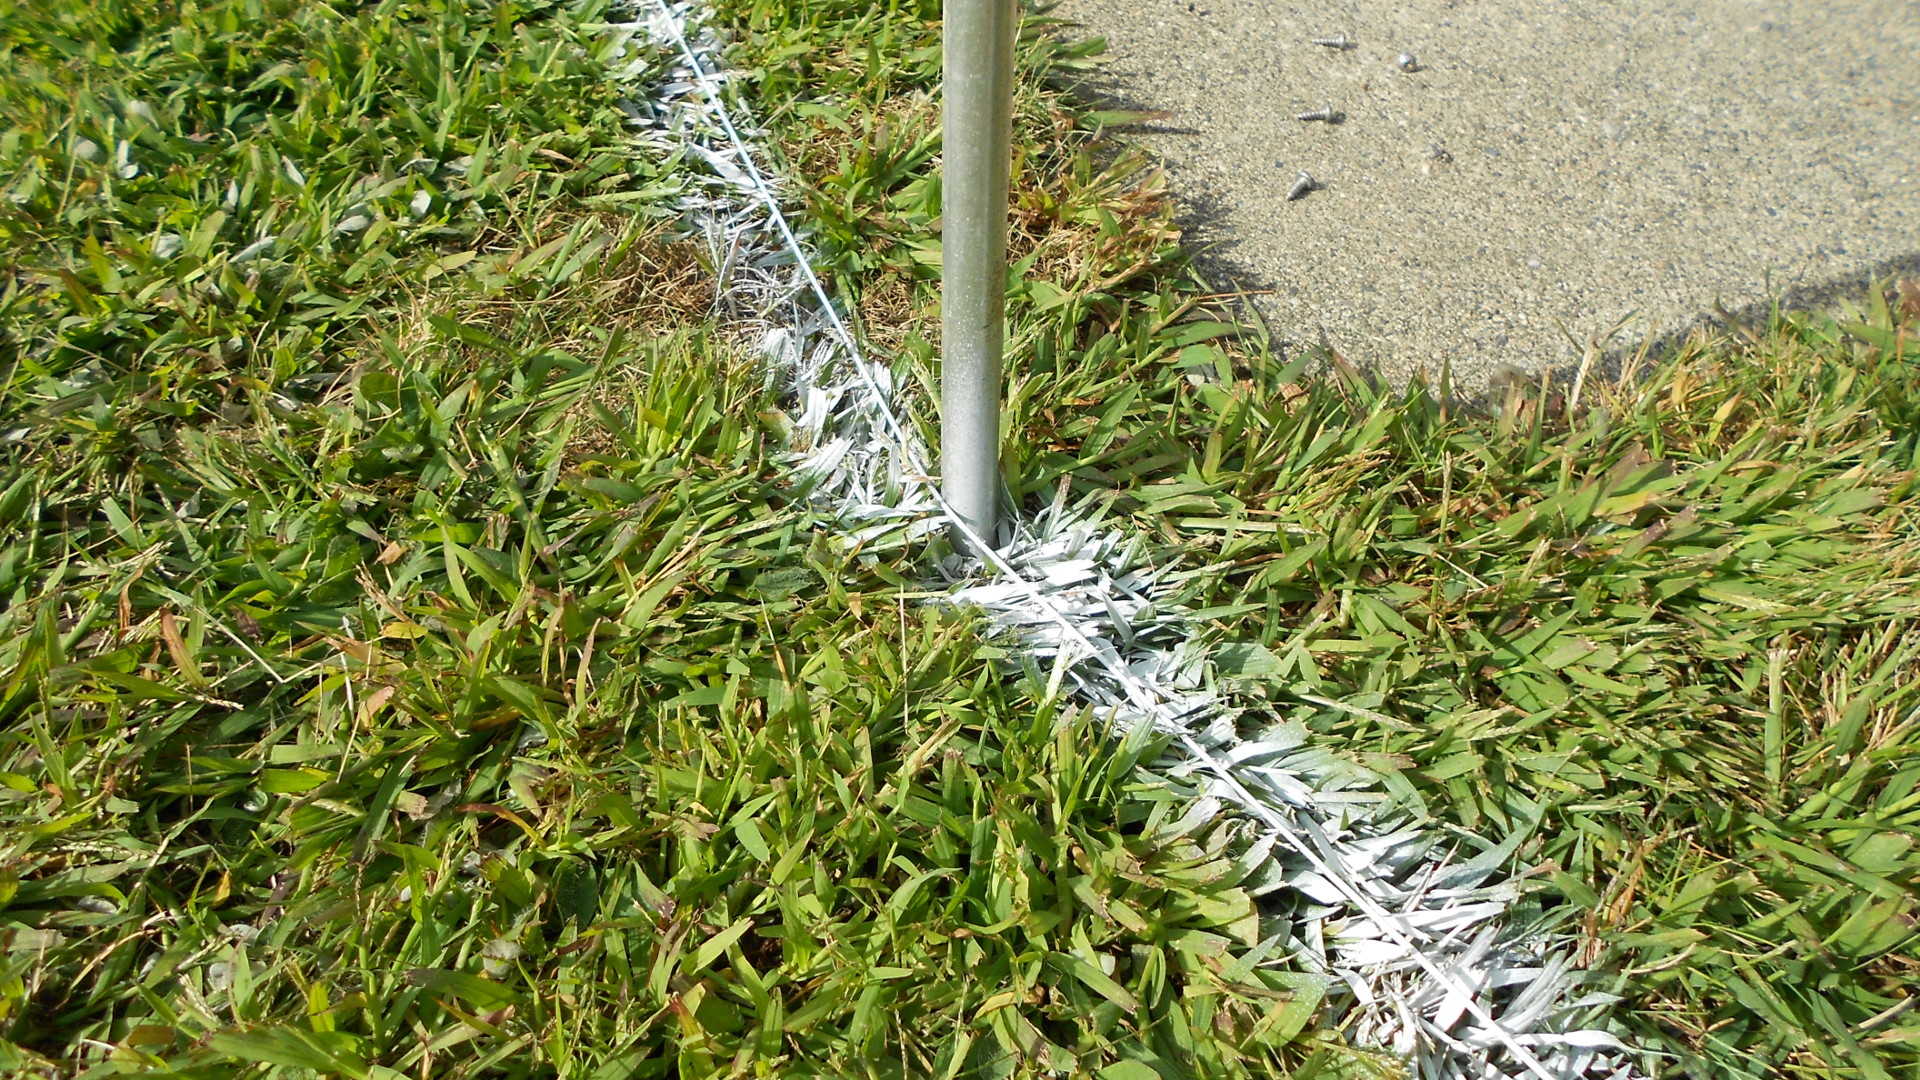
Details of the string (wire) and painted line at a bend point.
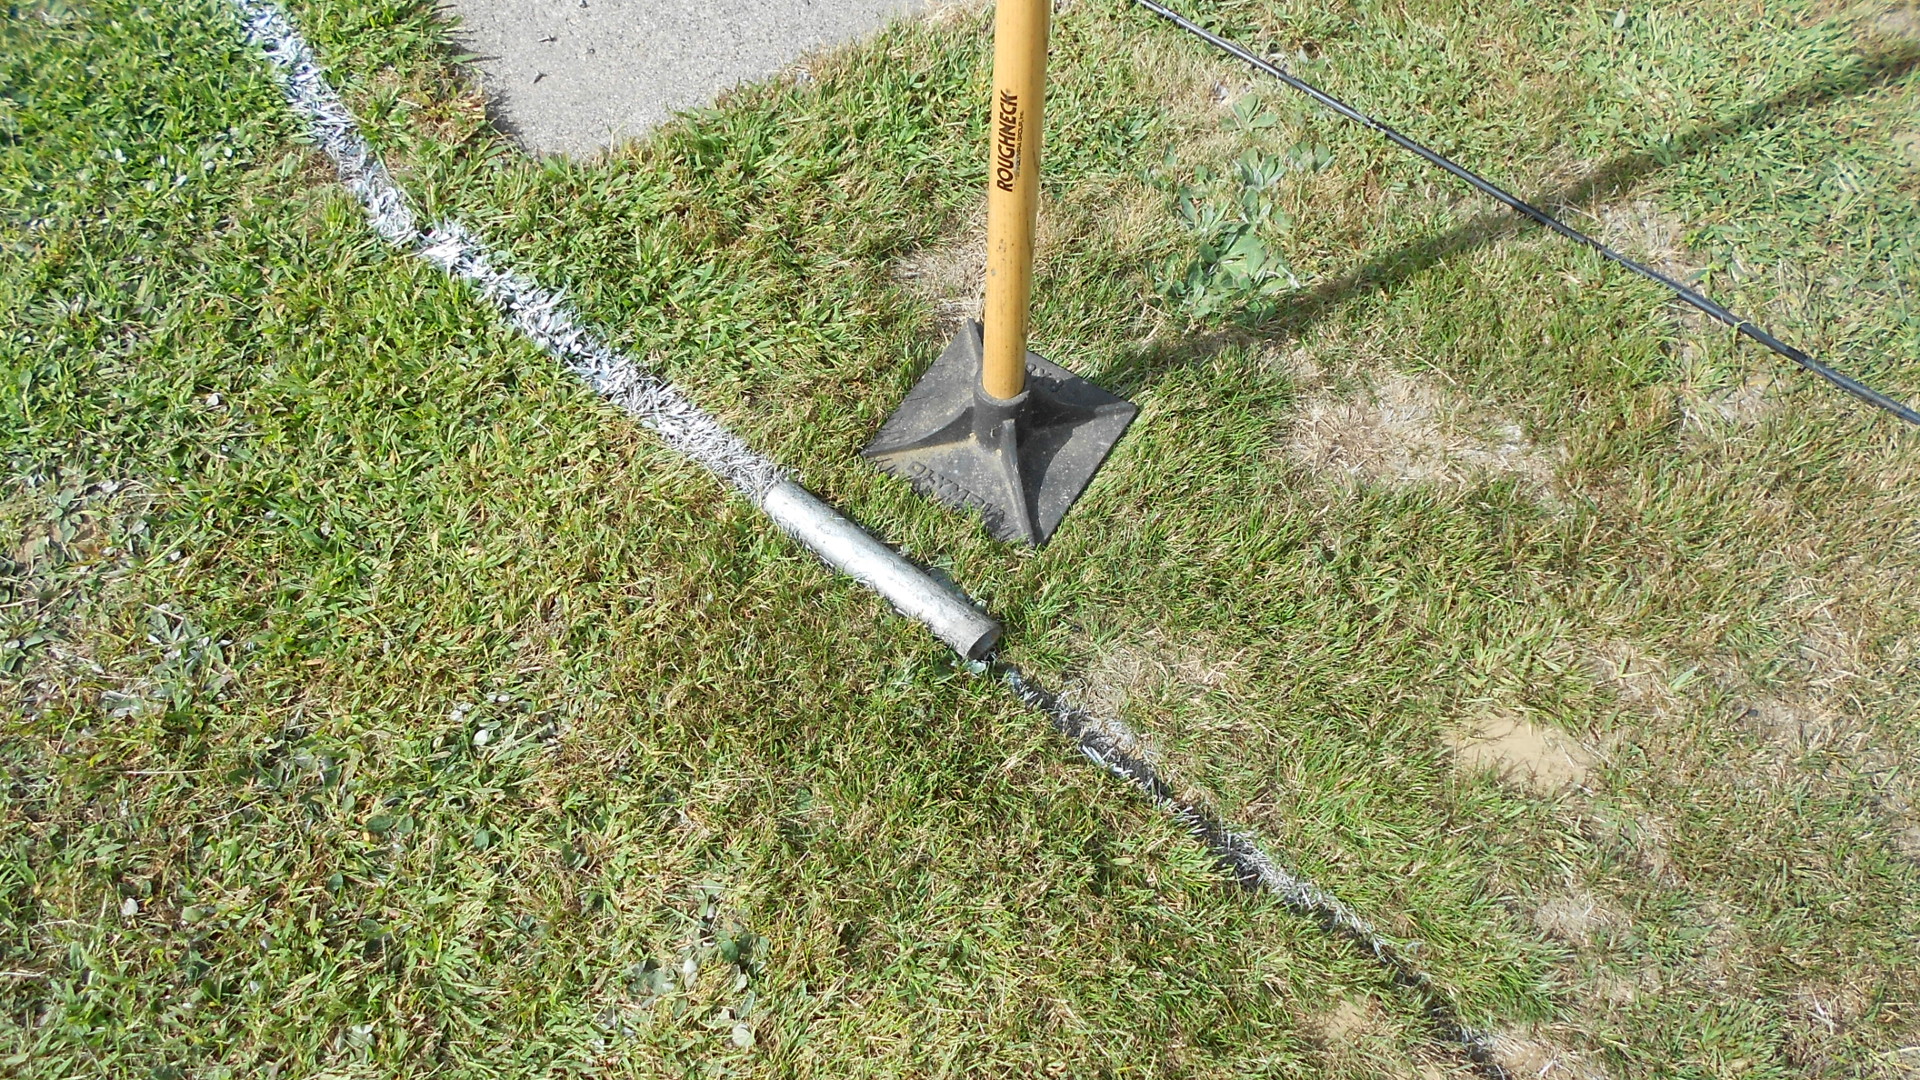
Step Two: Hammer a slot into the ground. I used an 8″ x 8″ dirt tamper and a 10″ length of 1.6″ OD steel pipe. Lay the pipe on the painted line and hammer it in until its top is flush with the surface of the soil. In my soil this takes two to three blows, and the flat plate of the tamper makes it easy to know when you’ve reached the correct depth. This photo shows the pipe in place before being driven into the soil.
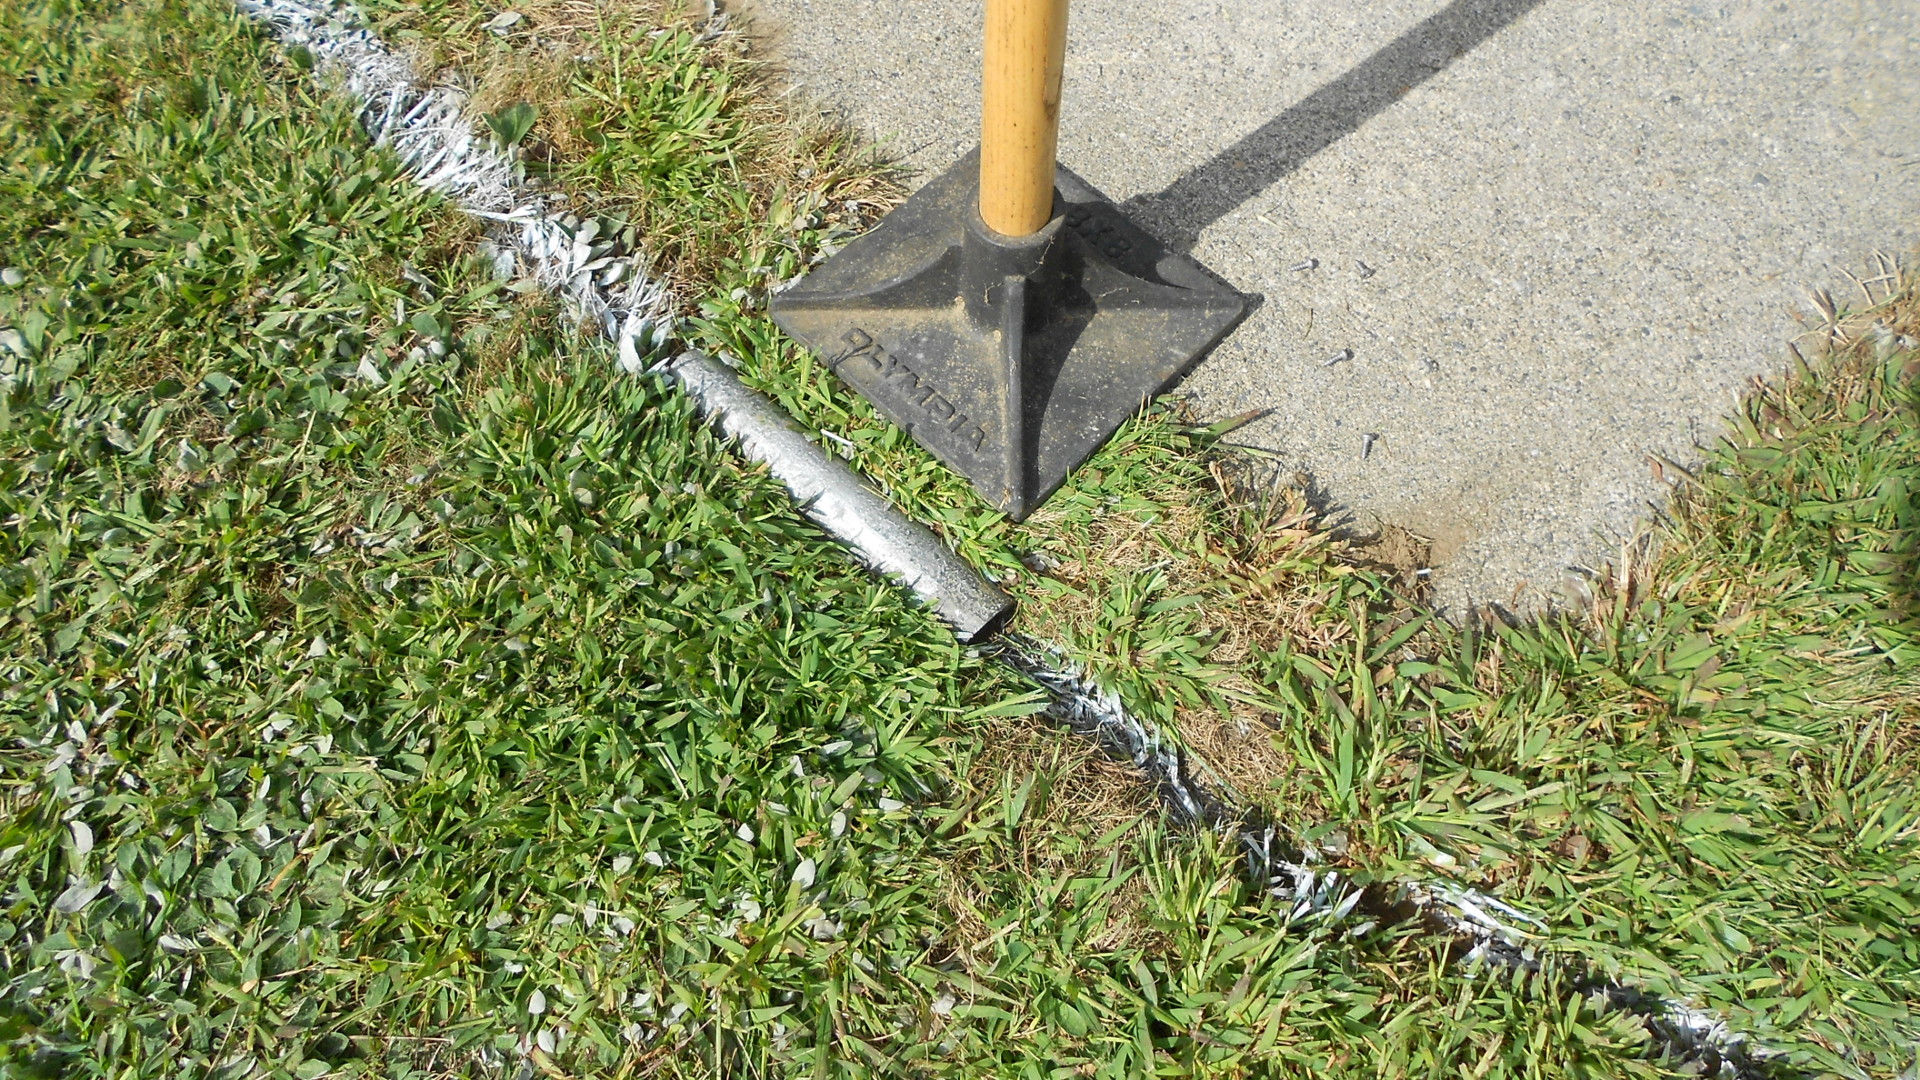
Here is a photo showing results after the pipe has been driven flush with the soil. To continue I simply pull out the pipe and move it forward 9 inches (just a bit less than the length of the pipe), then drive it into the soil again. The process moves along quite quickly.

Step Three: Lay the cable into the trench. I make 15 to 20 feet of trench at a time, then lay cable into it, then do another section of trench.

The completed job. There is no messy strewing of dirt, the paint line has virtually vanished, and the cable can barely be seen if one is not standing very close to it or directly in line with it. The top o of the cable is 3/4″ to 1″ below grade, so it is out of danger from the mower. Of course it is still subject to damage from any number of things, but with temporary cable runs that is usually a fact of life.