
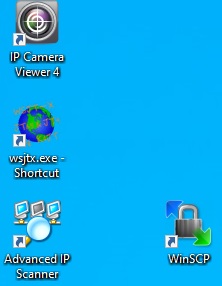
With the recent 2.3.0-rc1 release of WSJT-X providing a first opportunity for everyone to try the new FST4 and FST4W modes designed for LF and MF, I have been getting questions about how I set up and manage multiple instances of the program. With these new modes it is very desirable to be able to run several instances of the program at a time, each with its own unique configuration and files area. This does not require installing the program multiple times. The program has a built in method to run multiple copies of itself from a single installation. The manual mentions starting multiple instances from the command line, but that is awkward when you need to start several instances for every operating session. Fortunately, desktop shortcuts can be used to start multiple instances of WSJT-X, and those shortcuts can also be pinned to the taskbar where they are always in view for starting instances even if the desktop is already completely covered over by various running programs. Here is a screen shot showing part of my desktop with five shortcuts, each of which starts a unique instance of WSJT-X:
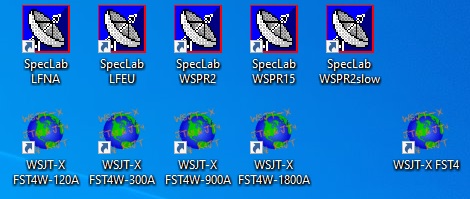
The shortcut named WSJT-X FST4W-120A starts an instance of the program specifically configured for the FST4W-120 submode. Likewise the others are for starting instances for FST4W-300, FST4W-900, FST4W-1800, and FST4. The latter is a more generic instance that I use for QSOs using FST4 mode. Each of the four FST4W instances has its own configuration, including a unique ‘My Call’ in the settings that adds a suffix to my call sign. That way, the spots I upload to WSPRnet identify which mode and T/R period the stations I decode are operating on. The FST4W-120 instance uses N1BUG/120. Likewise the others use N1BUG/300, N1BUG/900, and N1BUG/1800. I run all four of those every night that I am active, and usually have anywhere from one to three additional instances of WSJT-X running too.
So how did I create all those shortcuts? First I will describe the basic idea, then I will go into specifics of setting them up on Windows 10. The basics are:
- Create a desktop shortcut to the WSJT-X executable
- Rename the shortcut in a way that clearly indicates to you its intended use
- In the shortcut properties, add a parameter to uniquely identify this instance to the operating system and the program
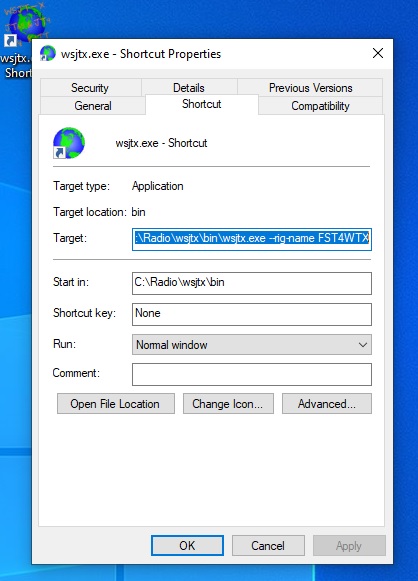
The latter is done by adding a parameter in the shortcut properties. This has the form of -r or –rig-name followed by a unique identifier of your choice. Here is what that looks like for the FST4W-120A shortcut:
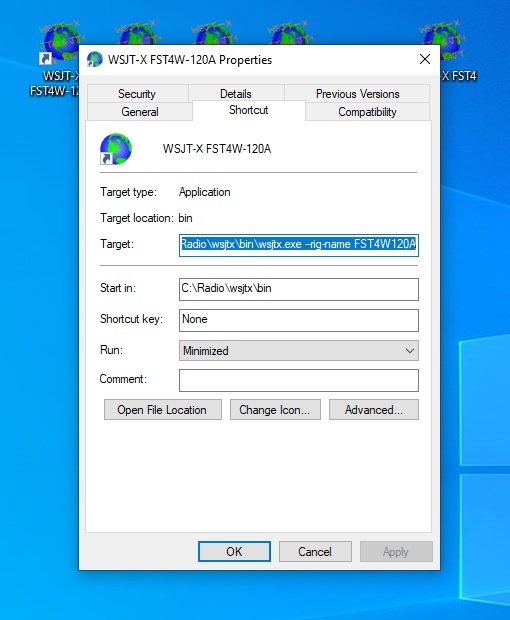
Notice the –rig-name parameter followed by FST4W120A. I’ve got in the habit of using that instead of just -r which would be simpler. Please note that if you use –rig-name, that is two hyphens at the start. You need a space after .exe, then –rig-name, another space, and your chosen name for this instance. I know alphanumeric characters work for the name itself. I have not tried any non-alphanumeric characters. In this example, FST4W120A is the unique identifier that allows WSJT-X and Windows to differentiate this particular copy of the program from any other when it is started.
It is very important that every WSJT-X shortcut have its own unique –rig-name parameter! Do not try to run one instance without a –rig-name identifier along with one that does not. It won’t work!
After creating a shortcut for a new instance, don’t forget to start that instance and configure it. You need to add your call sign, locator, basic options, configure your sound card and rig, etc. All of these can be the same or different from other instances you may have.
Let’s look at how I create each shortcut. There are several ways to do it. Many people recommend making a copy of an existing desktop shortcut and reconfiguring the copy. That works but there are pitfalls if you make a minor mistake. I have gotten myself into a mess doing that a couple of times, so I no longer use that method. I will now describe in detail how I do it. A word of caution is in order here. Windows 10 can be configured in many ways which change the look and feel of this process. If you have Windows configured differently than I do, you may not see exactly what I see. I can’t discuss all of the various possibilities here.
First you want to open Windows File Explorer. You probably have a desktop shortcut or taskbar shortcut for that already. It’s the little yellow and blue folder icon. If you don’t have that shortcut, there are multiple ways to start File Explorer. A web search will turn up at least seven ways, but here is one way:
- Click the Windows ‘Start’ button
- Type ‘file’
You should see this:
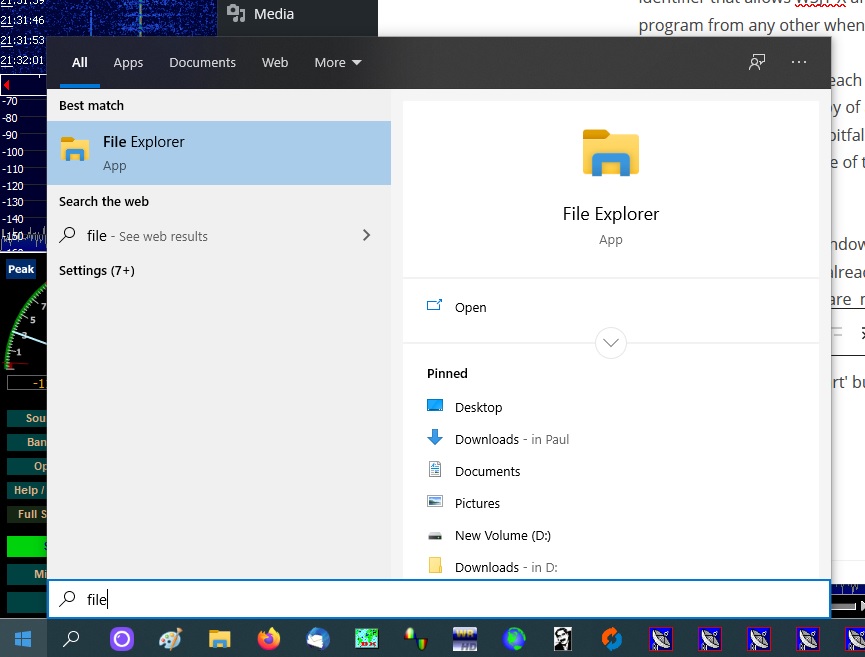
From there you can start File Explorer by clicking in the blue highlighted area at the upper left or just by pressing the Enter key on your keyboard.
Next you need to navigate to the folder where you installed WSJT-X. The default is C:\wsjtx but I have mine installed in C:\Radio\wsjtx.
- You should see the name of your hard drive or SSD, usually C: on the left of File Explorer. A single click there should get you on your way, or
- You may see your C: drive only on the right. It will probably take a double-click on that to get to C:
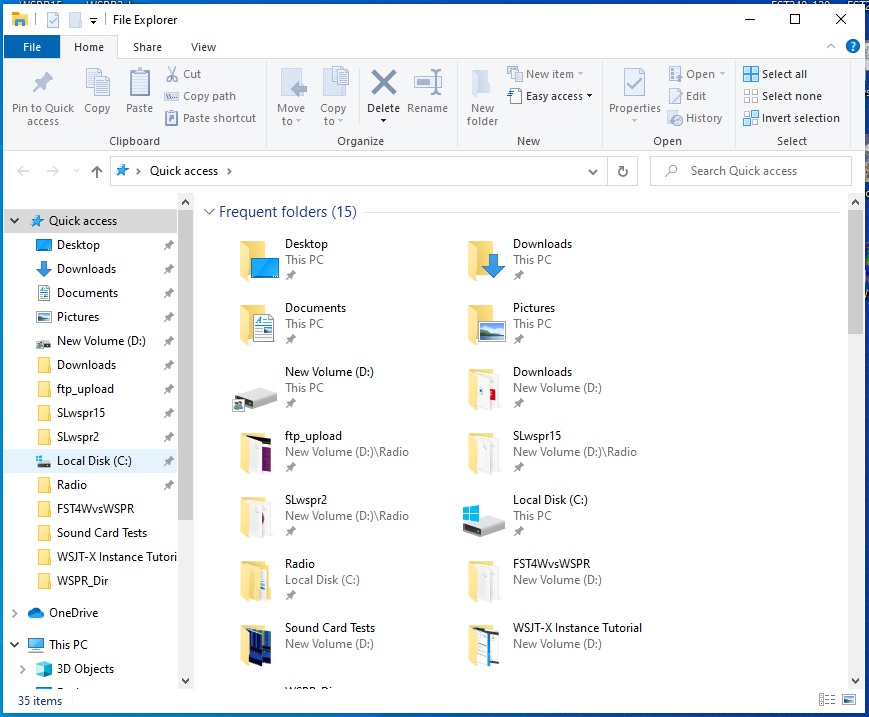
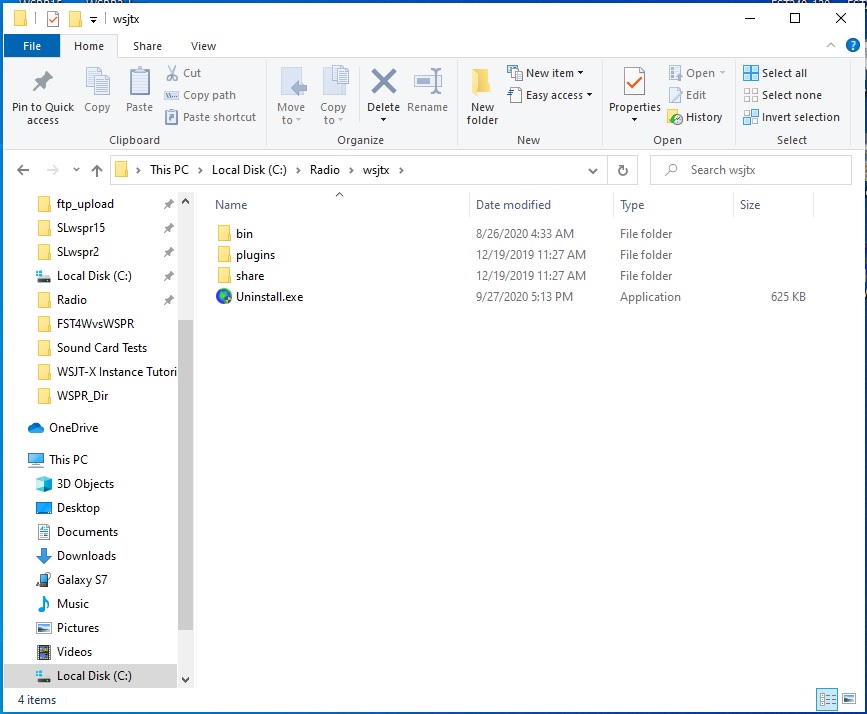
Once you’ve gotten to drive C: (or whatever drive you have WSJT-X installed on if you have more than one hard drive or SSD), you need to navigate to the folder where WSJT-X is installed using the list on the right. Here is what mine looks like after I’ve gotten to the proper folder:
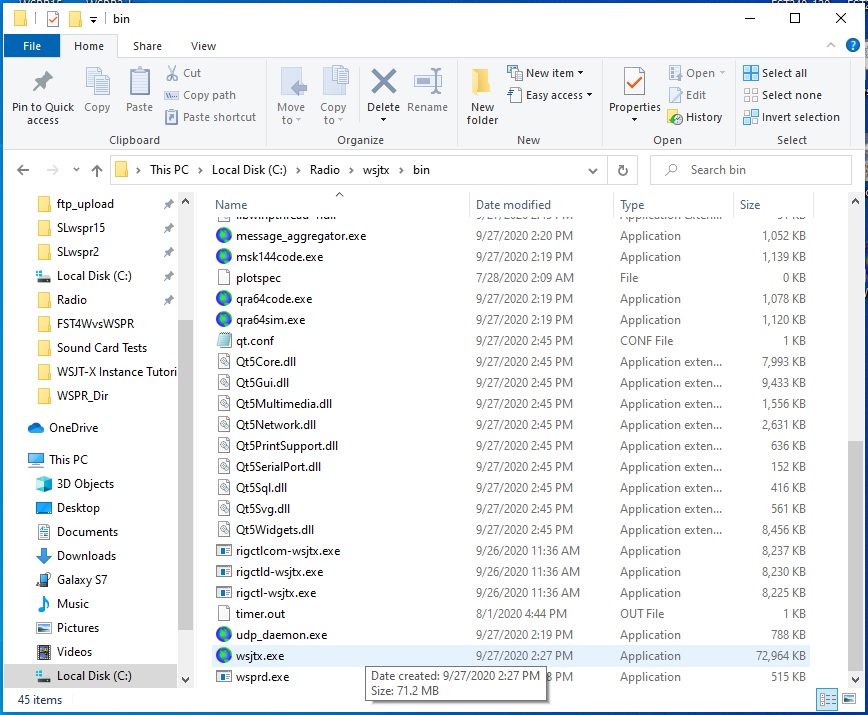
One final step is to navigate into the bin folder. Now you should see a list of files. Here I have scrolled down that list to find the one called wsjtx.exe. Depending on how you have Windows configured you might not see the .exe part, but the name should be wsjtx and it should be identified as an Application:
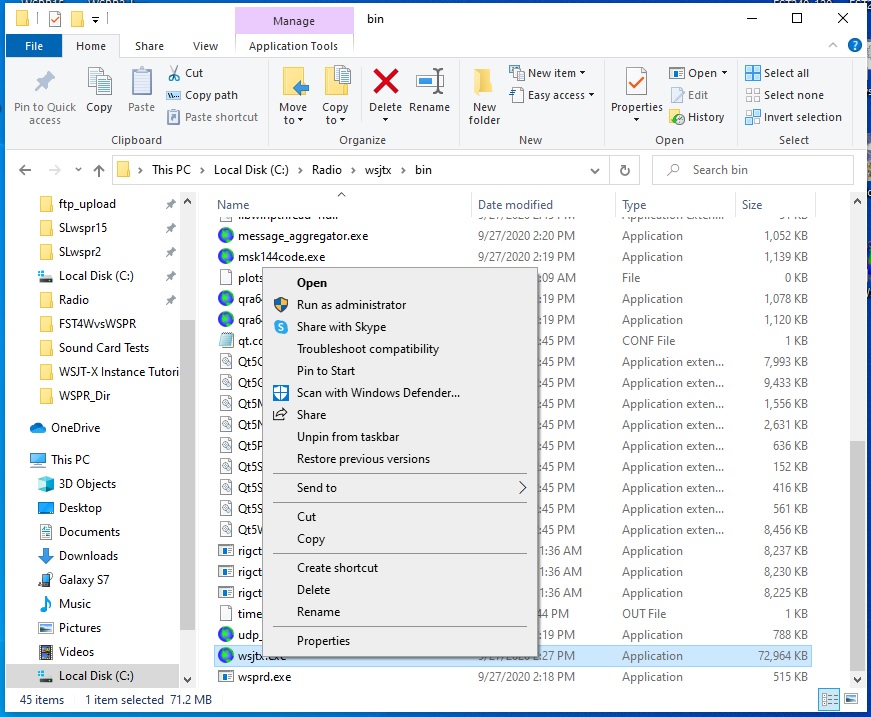
Hover the mouse over that file to highlight it (as shown above) and press the right mouse button. You should see this pop-up menu:
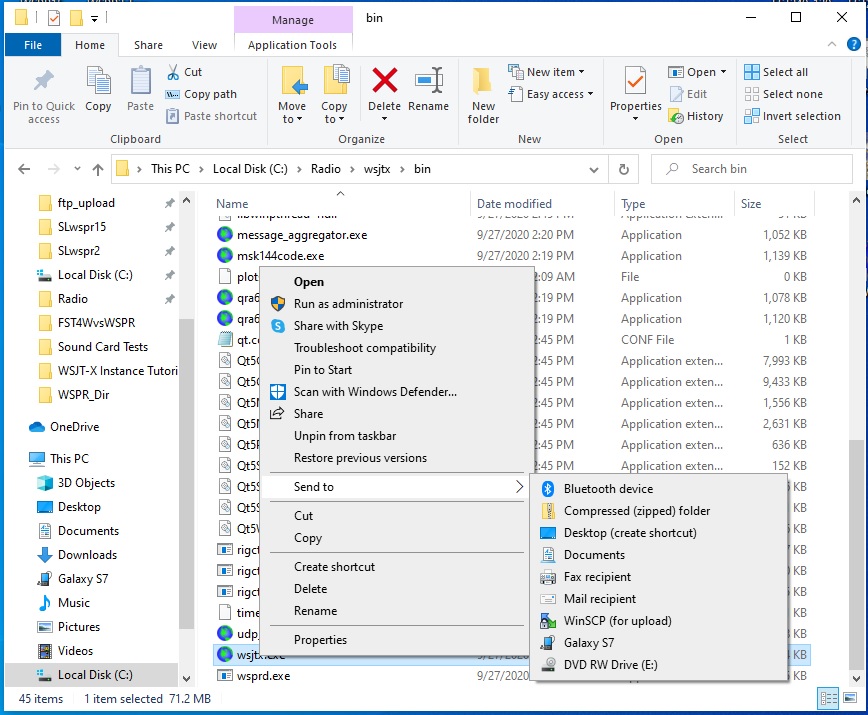
Now move the mouse pointer over Send To > on that menu and click on Desktop (create shortcut) in the additional menu that pops up on the right:
Somewhere on your desktop a new shortcut should have just appeared. Mine looks like this:
I don’t like where it is, so the next thing I will do is left click on the new wsjt-x shortcut and drag it to some convenient spot on my desktop. Next, I will hover the mouse over it and click the right button. From the pop up menu I will choose Properties to get this:
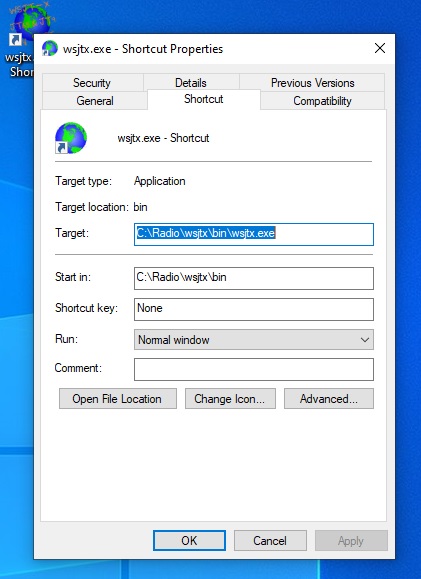
I’m going to be making this one for starting an instance of WSJT-X which I will use for transmitting FST4W with my standard call sign, so that I don’t have to use one of my receive only instances with suffixes after my call sign. First I need to add a unique name to identify this instance to Windows. I’ll use FST4WTX. I carefully left click on the Target box, being careful not to delete any text that is already there. To the end of that I want to add a space character, then –rig-name, another space, and finally FST4TX. It must be typed exactly like that including required spaces. When I finish typing that I will click the Apply button and it will look like this:
Now on the tabs at the top I will click on General to get here:

Now I want to replace the shortcut’s default name, wsjtx.exe – Shortcut with something more user friendly that I can recognize as being my shortcut for starting an instance I will use for transmitting FST4W. I’ll choose something very similar to the parameter added in the last step, but making it a little more eye friendly, like WSJT-X FST4WTx. I will click into the box, delete the text that is there and type what I want. Now it looks like this:

All that remains now is to click the OK button. Now the new shortcut is ready for use on my desktop:
The first time I run the program from the new shortcut I will go trough all the settings in File > Settings, configuring it with my call sign, grid square and all other needed options. Once I have it all set the way I want it, I will use this particular instance only for transmitting FST4W. Since I have receive instances which I want to upload to WSPRnet with the unique call sign suffixes indicating submode, I will remove the check from ‘Upload spots’ on this one’s main window.
These same steps can be used to create as many different shortcuts as you need for starting different instances of WSJT-X. Just remember to give each of them a unique –rig-name parameter in the shortcut properties, and finally name it something convenient.
If you often have a lot of windows open, covering the desktop you may find it helpful to pin desktop shortcuts to the taskbar. Just right click on a desktop shortcut and choose pin to taskbar from the popup menu.